Posts tonen met het label nail art. Alle posts tonen

Cute Daisy Nail Art


Today Laura will be guiding us to a step-by-step tutorial to these really cute and summer-ish daisy nails! These summer daisy’s are a must have and pretty trending right now. You can't pass a single clothing store without seeing a clothing piece with daisy's. I love daisy’s because you can combine it with so many things and it makes me happy when I look at them. Now after reading this; who doesn’t want daisy’s on their nails? So let’s start with this easy and cute nail art!


Cute Fall Nail Art


Today I have another video for you and it's a nail art tutorial for the fall time. I really hope you will like it! I always spend a lot of efforts on my videos and I would be very happy if you can subscribe to my channel! :) 

What you need:
- Ridge filler/Base coat.
- Different fall colored nail polishes, I used Burgundy/Wine red, yellow, orange and gold. 
- Thin nail polish brush and a black nail polish or a black nail art polish.
- Shiny top coat.

Good luck! 

X Anna

Smileys || Nail art

 I found something like this on youtube and I wanted to try it myself. I think this nail art is just sooo cute! I love it! That's why I made a little how to for you. I hope you like it!

Inspiration

Tumblr_m9f4g0ebef1qhv6sjo1_500_large 

Today I have some inspiration pictures which inspire me in different ways: things I like, things I want to have, inpiration for things I can make/do myself and things I like to share with you. I hope you enjoy!

Roses nail art


Today I found this very cute and easy nail art on youtube. I just thought I had to share it with you so today no fashion, but nail art :D

If you want to see more pictures and if you would like to make this cute nail art yourself, please click on read more.

Cupcake your nails!

Hello everybody!

In this tutorial you me and my sister show you how to make very nice cupcakes on your nails. I know the quality of the video is bad, but next time I will do it better. It was made with my mobile phone so that's why.

Love and enjoy,

Anne


A radom post...

Hello!
I've got sooo many things to tell you, I can't wait!
About, fashion, bff, my deo, new shoes, everything!

Let's start with my new shoes for the winter:


A new bracelet I bought myself

My BFF went to london and she bought me a bracelet. How lovely!? THANKS!!

A few years ago, I was addicted on buying new perfume deo......
I made a page in my stylebook about the beach!!
British flag nail art

British flag nail art.

British flag nail art.
I did some nail art just to try it out about the british flag and it turned out pretty well..
do you want to make it yourself? Here is a picture of the things you need in order of using:
Base coat, dark blue, white, red, transparant top coat. You also need a skewer.
1. Give all your nails a base coat. Let it dry.
2. Make all your nails blue, do this two times if you want it to stay longer.
3. Draw with the white polish a cross on your nails (not too skinny)
4. Draw a thinner cross right through the other cross. And let it dry. (You can use a skewer for that).
5. Color in the white on your nails and leave a thin line behind (from white polish). Let it dry.
6. Use a transparant top coat as a finishing touch!

Now I've got another nail art for you guys! This is the flag from the United States!


You'll need the same as with the British flag, but it has a different order.
1. Give all your nails a basecoat. And let it dry.
2. You can choose to give all your nails the US flag, or just a few. If you choose for a few you color the other nails red or blue. Then you give it a transparant top coat. For the US flag go to the next step.
3. Make with the blue polish a rectangle in the left corner of your nail.
4. With the skewer you can easily make the horizontal stripes on the red part.
5. You can use your skewer again to make some small dots in the blue part of your nail.
6. Now it's time for the transparant top coat for the finishing touch!

Good luck!!


Nail art #2

I'm sorry I didn't post anything last few weeks. But this is my second nail-art-post. I like nail polish and nail art and marble nails. I will explain about the last one later. Today I'll show you something I made on my nails. I will also explain how to make it.


I've had a problem with putting pictures on my computer, but now i've got the pictures.
This is what you need:
- Basecoat
- Nail polish light green like sea green.
- Thin nail art nail polish purple with glitter.
- Blue nail polish.
- Top coat (longlasting).

This is how to do it. 
- Paint your nalis with your basecoat. Do you not have a basecoat? Then do 2 times the next part. Let it dry.
- When your basecoat is dry paint the green nail polish on top of your basecoat. Let it dry.
- Make a horizontal line with our nail art purple nail polish. Then a vertical line on top of it. Let it dry.
- Make a dot with your blue nail polish where the horizontal and the vertical line pass eachother. 
- When it's dry you can finish your nail with a topcoat.

The basecoat and the topcoat make sure your nail art will be good for a longer time. If it's just for one day you can skip the basecoat. The topcoat makes your nail shining so it's always nice even when it's just for  a day.

Nail art #1

Hello!

The summer has started and that means: time for nail art!
In the posts about nail art I'll show you nice and easy examples of good-looking nail art!
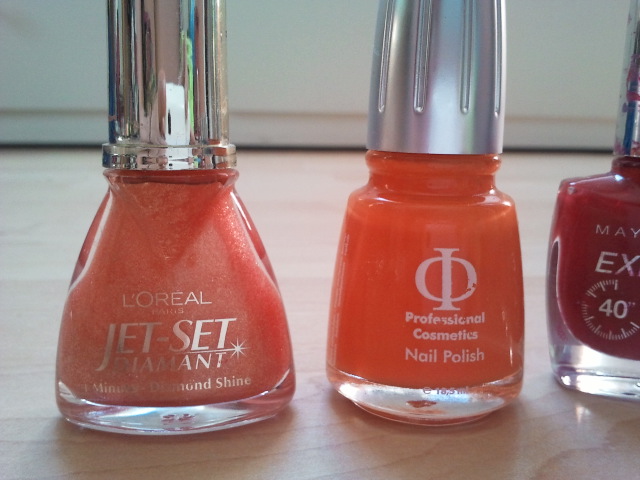
In this first post I'll show you all the nail polish I have me myself.